So, we had another baby…in January! I’m finally taking a few moments to sit down and write her birth story and share pictures of our little love.
FYI – this might be a little TMI!!!
Last spring, we decided to have another baby. I hadn’t had a period in over 4 years – between being pregnant and going back on the IUD when Noah was 6 weeks old…I thought it would take us a long time. NOPE! TWO MONTHS…it took us two months to get pregnant. Oh man! I wasn’t ready for that. I had prepped myself for many, many months to adjust to the idea of being pregnant and having another kid. TWO MONTHS!!! Wowza!
Anyway, I should’ve known from the beginning that she was a girl. I felt like crap. All my energy was zapped. My acne was awful (sorry to those who had to look at me). She sat high. I was uncomfortable. All of those things did not happen with the boys. However, I didn’t allow myself to get my hopes up…just in case.
We had an ultrasound in September and did a gender reveal photo shoot that afternoon. * See previous post “It’s a…” for pictures. * But here’s a sneak peek… 
I muddled through the pregnancy. I pulled a groin muscle in October giving Noah an underdog on the swing. I fell 3 times on the icy parking lots at work – twice on my knees and once on my backside. I didn’t gain as much weight as I did with the boys, which was nice. She was large and I was uncomfortable. I did find a new love in “rock tape”. It helped support my large belly without all the extra bulk and awkwardness.
Here’s the TMI part!! You’ve been warned.
On January 14th my doc said I was dilated to 3cm and could be stretched to 4cm. She said it could be anytime or a long time yet (not real encouraging!). I was having contractions, they were 10 mins apart but never closer. On January 21st, I was dilated to 4cm and 100% effaced. And contractions were still 10 mins apart. Dr. Oliver was getting ready to leave town for a family emergency and wanted to see me one more time before she left. I saw her on January 26th. I was dilated to 5cm, 100% effaced and my plug was gone. Contractions were still 10 mins apart. Dr. Oliver thought I was in active labor, but I could be there for a while still. Everyone at work, was on high alert and constantly watching me. They were a lot more nervous about me than I was. Despite all this info, I was still convinced I was going to be pregnant for a few more weeks.
On January 28th, one week before my due date…I taught my first block class at the high school. Chatted with the guidance counselor about students, told her I’d be pregnant for another week or two. Waddled over to the elementary school. Got the typical “you’re still here?!” as I made my way down to Kari’s room. After I was done working with my students, I waddled to the bathroom. It was about 10:15am at this point. I had just finished going to the bathroom when I felt her shift up, felt a pop and a gush of fluid. It was so odd! I had been induced with the boys and prayed that if I was to go into natural labor with her, that it be super obvious. And it was! After doing some shifting to move things along, I popped open the door and asked a kid to get Kari for me. Jennifer came, got me my phone and went to my car for my change of clothes. I called Dave. He was chatting about what he and Noah were doing that day. After a few moments he stopped and said “wait a minute, you’re calling me! Are you in labor?!” Why yes honey, I am! After having been in active labor for 2 weeks, I thought I’d be fine driving home…alone. Kari and Traci refused to let me do that. Traci drove me and Kari followed in her car. I called the necessary people who needed to know what was going on. Dad was on his way, but he lives just over an hour away. I got home at 11:30am. The contractions were 8 minutes apart and then 6 minutes apart. Finally at about 11:45am, I told Dave to take Noah to Lynn’s and that we needed to head to the hospital. We got to the hospital and into our room at 12:20. The contractions were about two minutes apart and getting much stronger. They tried to stick me 3 times for an IV so I could have an epidural. Didn’t work! I was screaming to distract myself from the pain. I had pushed Dave away (he was petting me). One nurse was trying to admit me to the hospital. One nurse kept telling me to breathe (I wanted to punch her). I rolled onto my side and screamed “I HAVE TO POOP!”. A doc came running into the room, told me to close my mouth and out she came. I asked Dave “is she still a girl?!”. Tessa Rose was born at 12:43pm. We were discharged the next day at 3pm. It was a whirlwind!!!
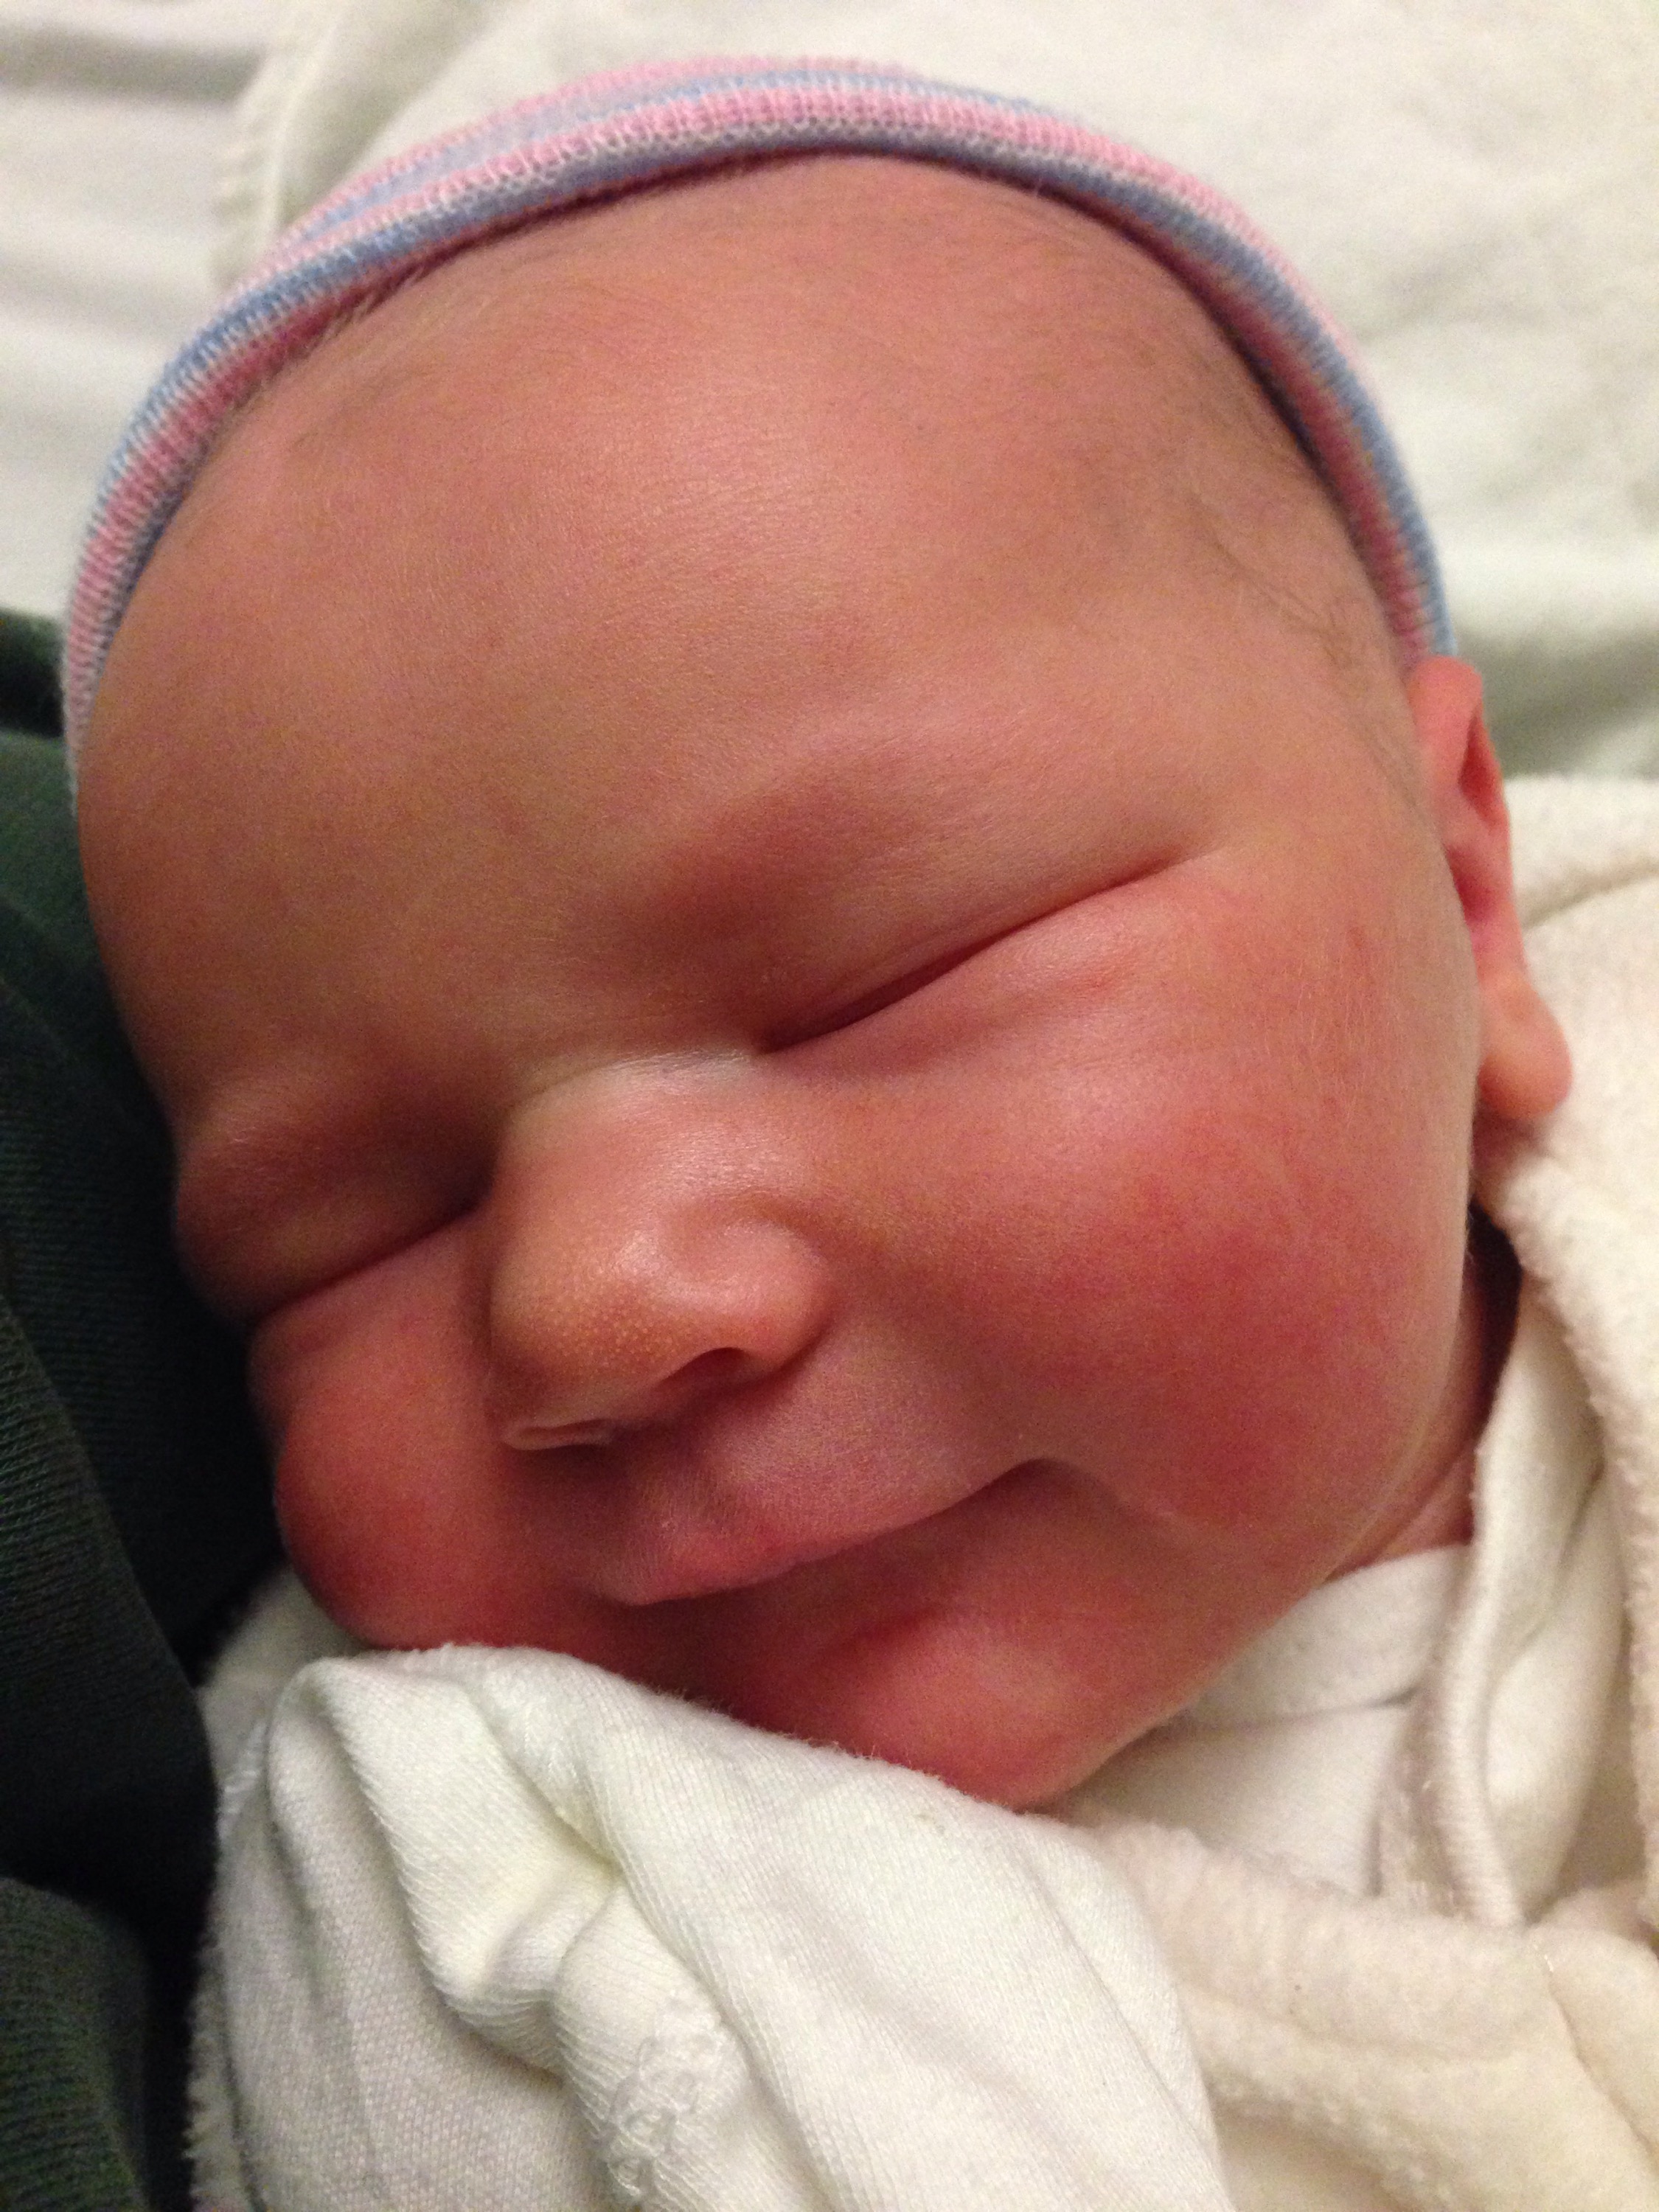
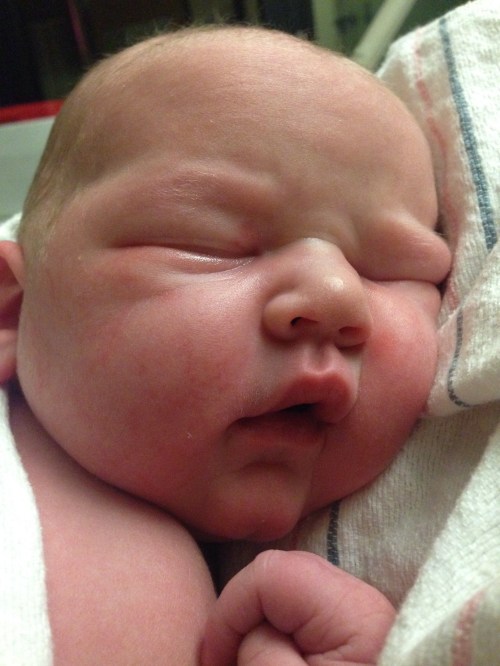
Now, for pictures…  Tessa Rose Burlingame – January 28th, 8lbs 4oz and 22.5 inches long
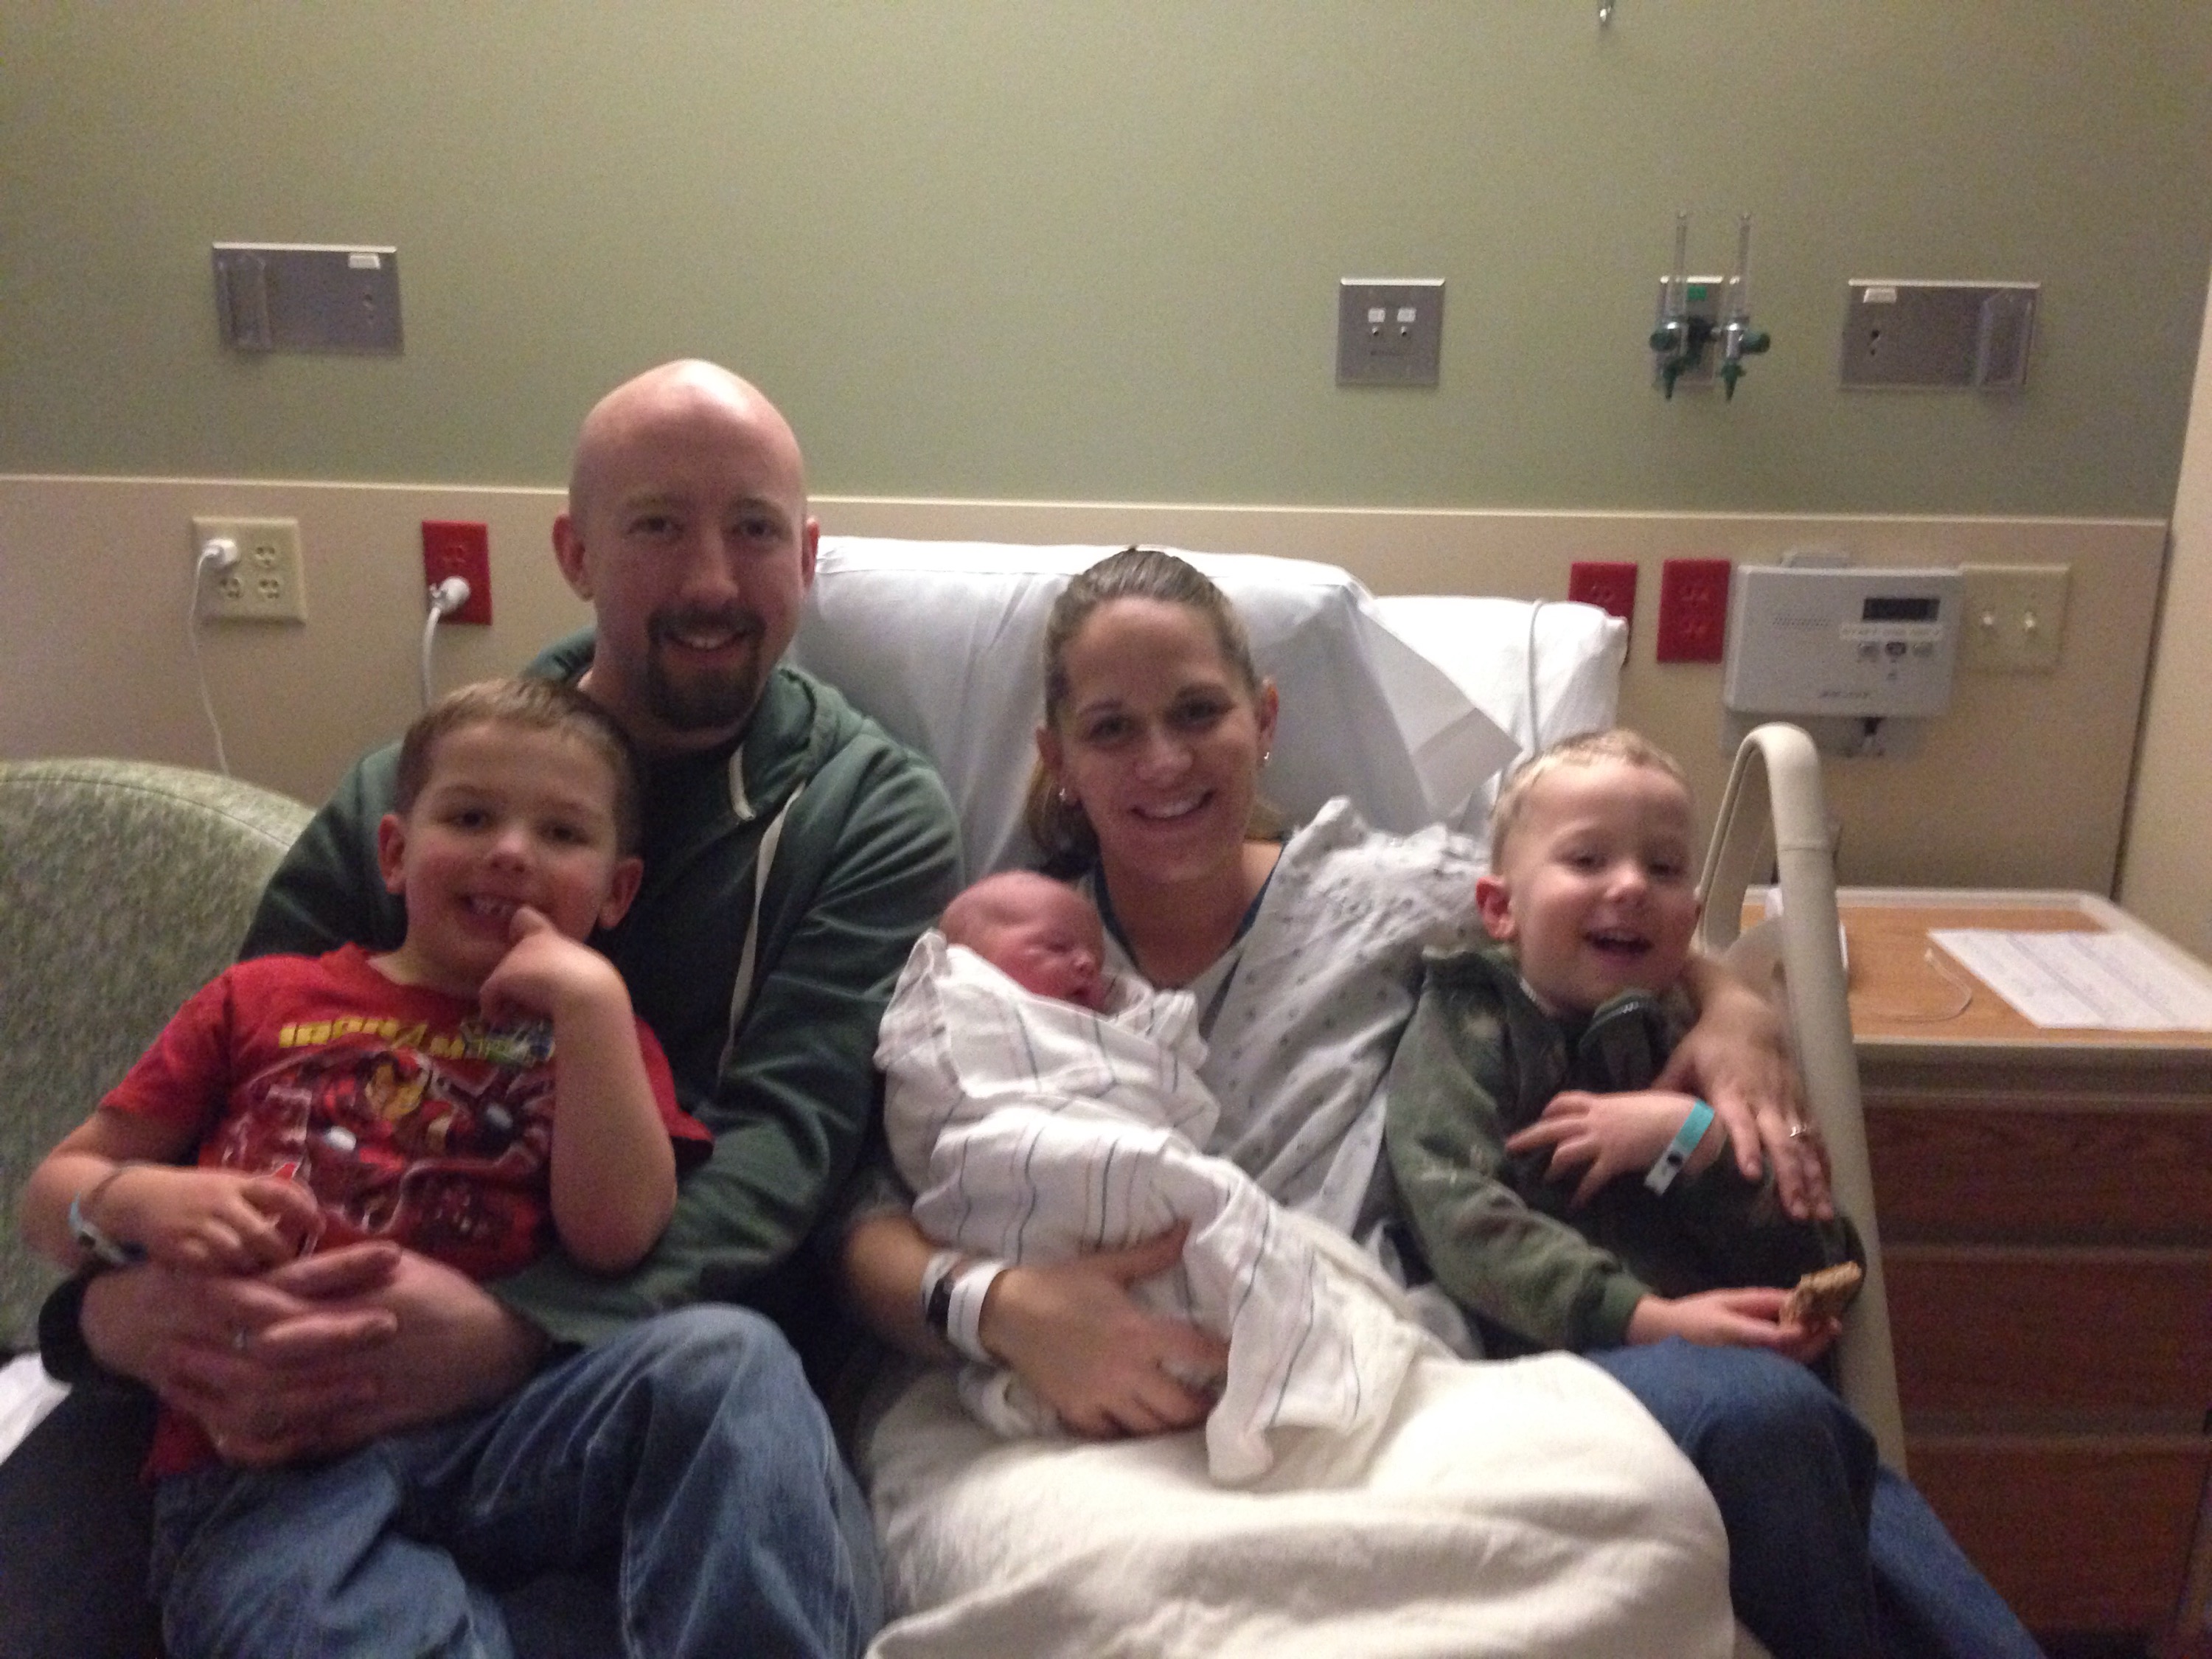
 Our new family of 5!
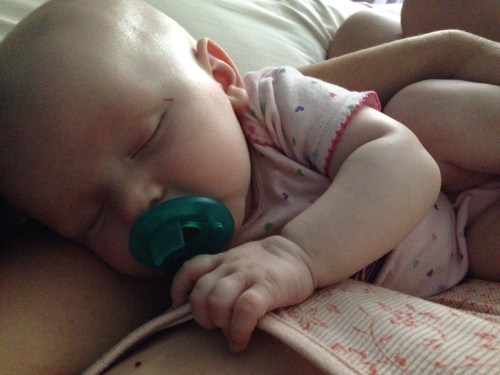
 Milk drunk squishy cheeked baby!
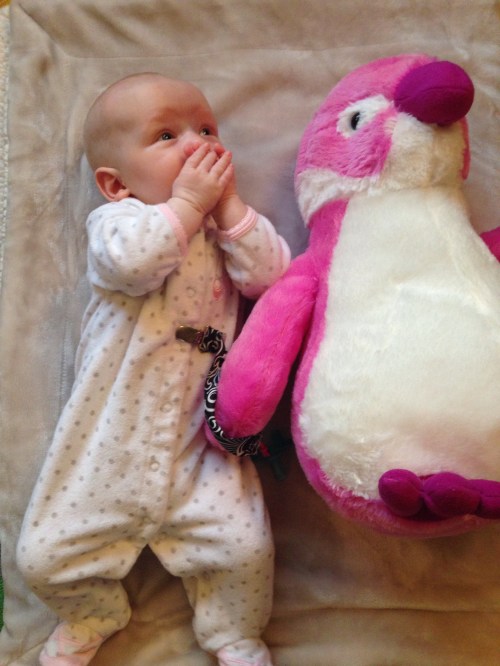
 So sweet!!!
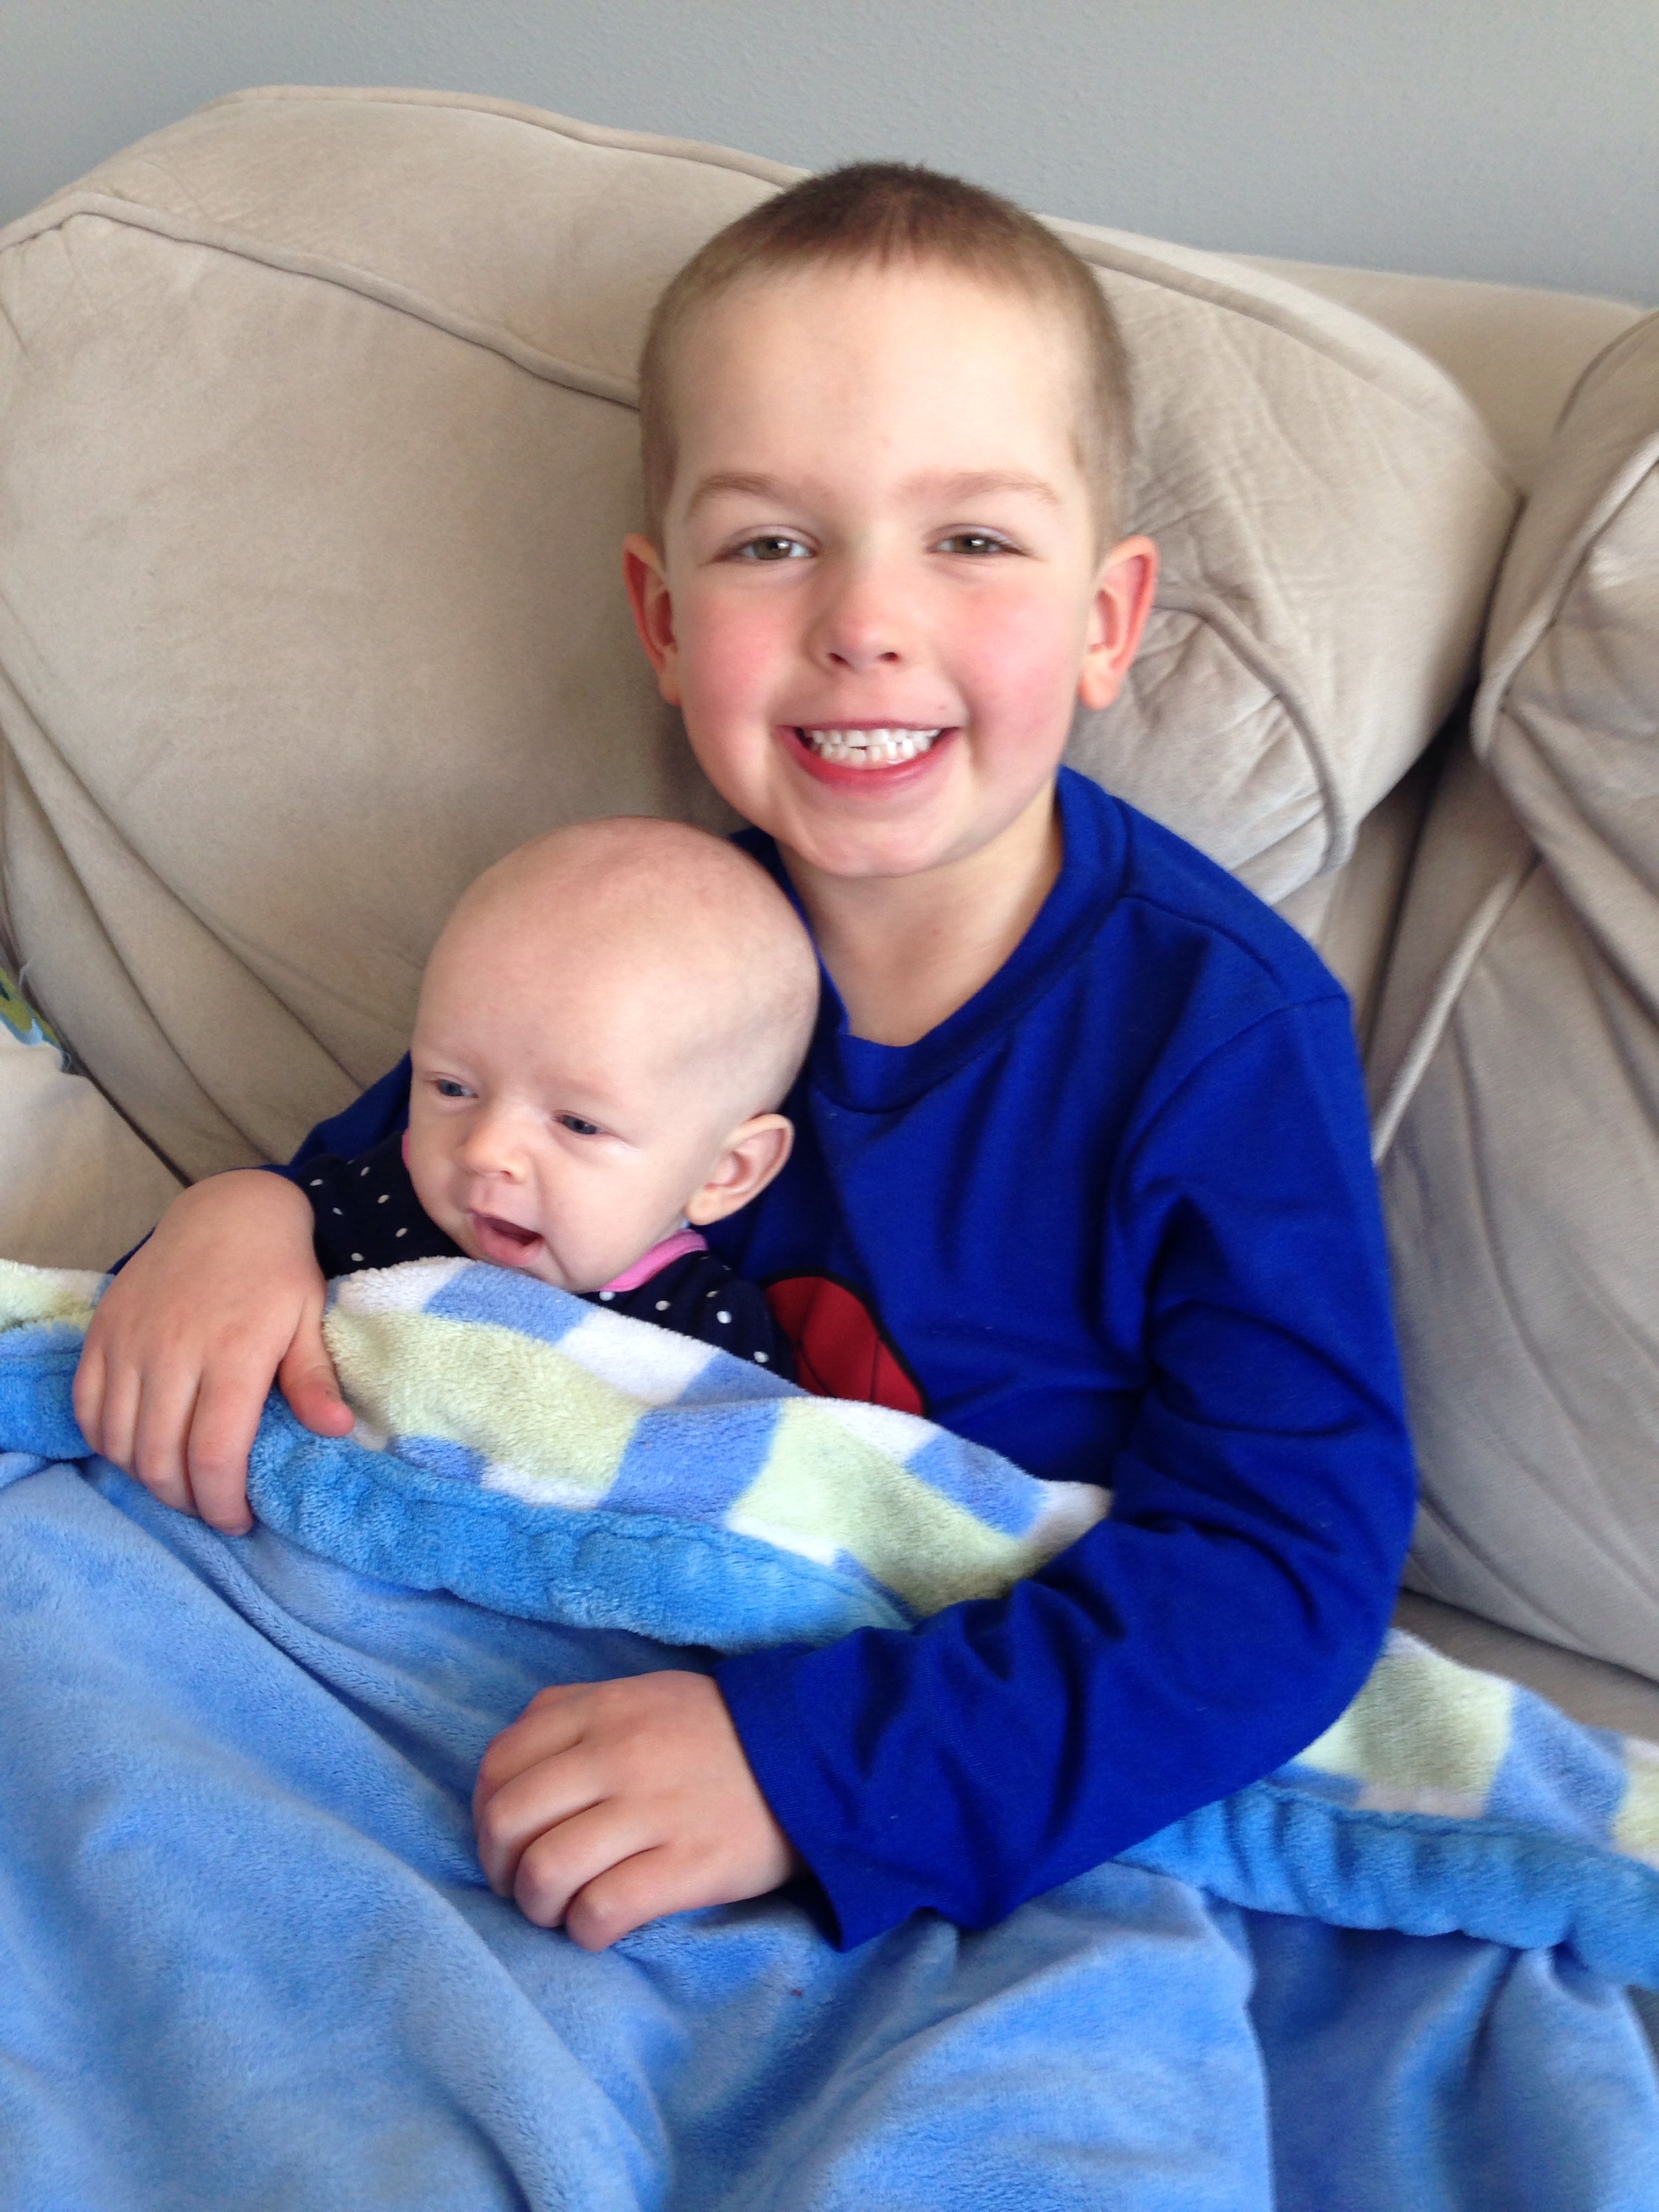
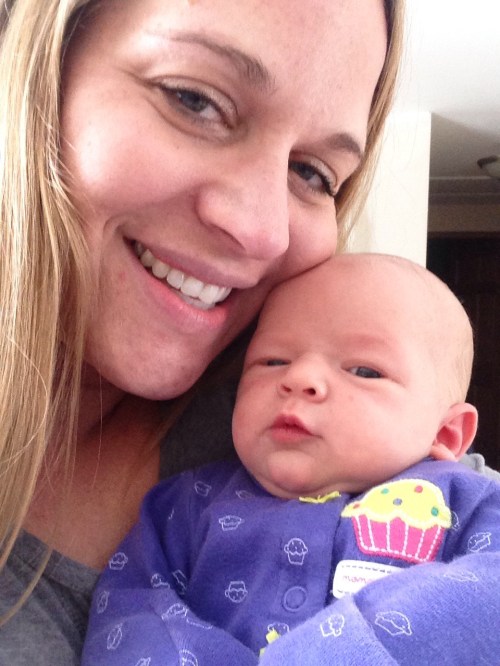
 Snuggle bug!
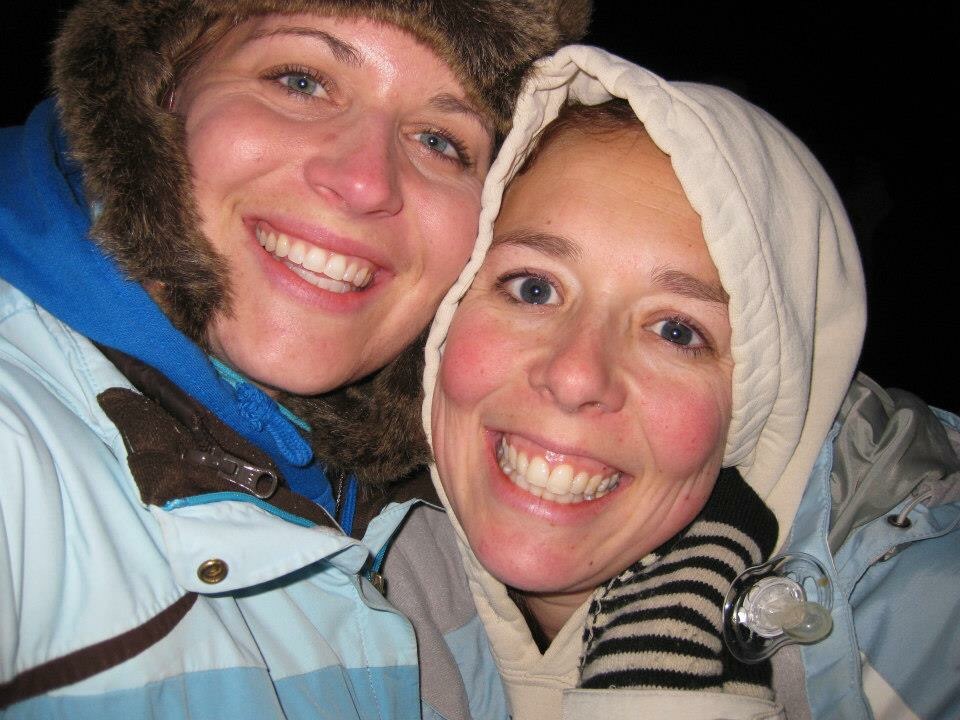
 Our first (of many) girls day, coffee with some friends.
 Wearing red for CHD awareness week. Honoring big brother Eli!
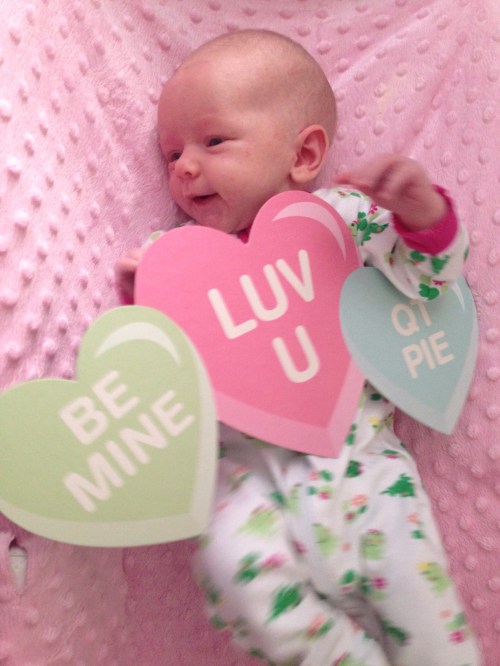 Happy Valwntine’s Day!
 One month old!
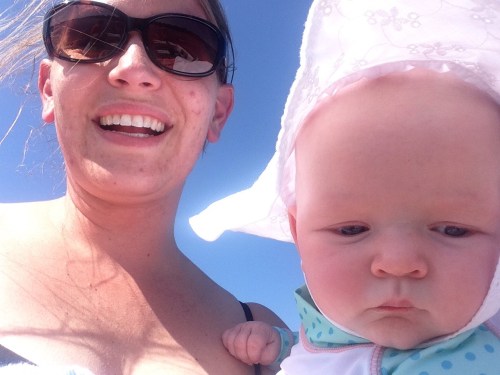
 Beautiful day for a walk to the boat landing.
 My bookend babies!
 Two months old!
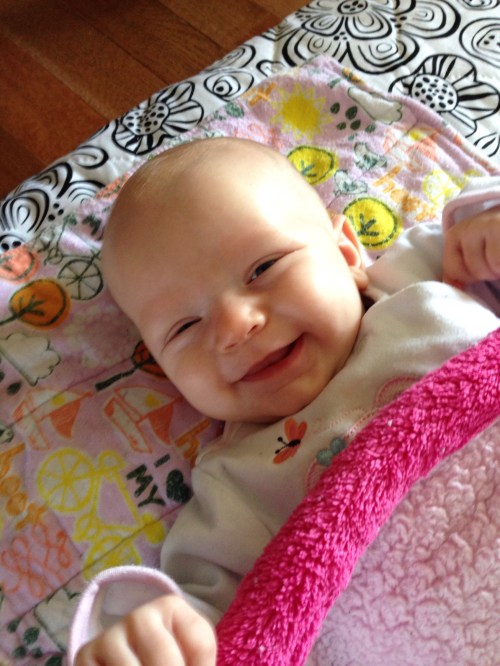
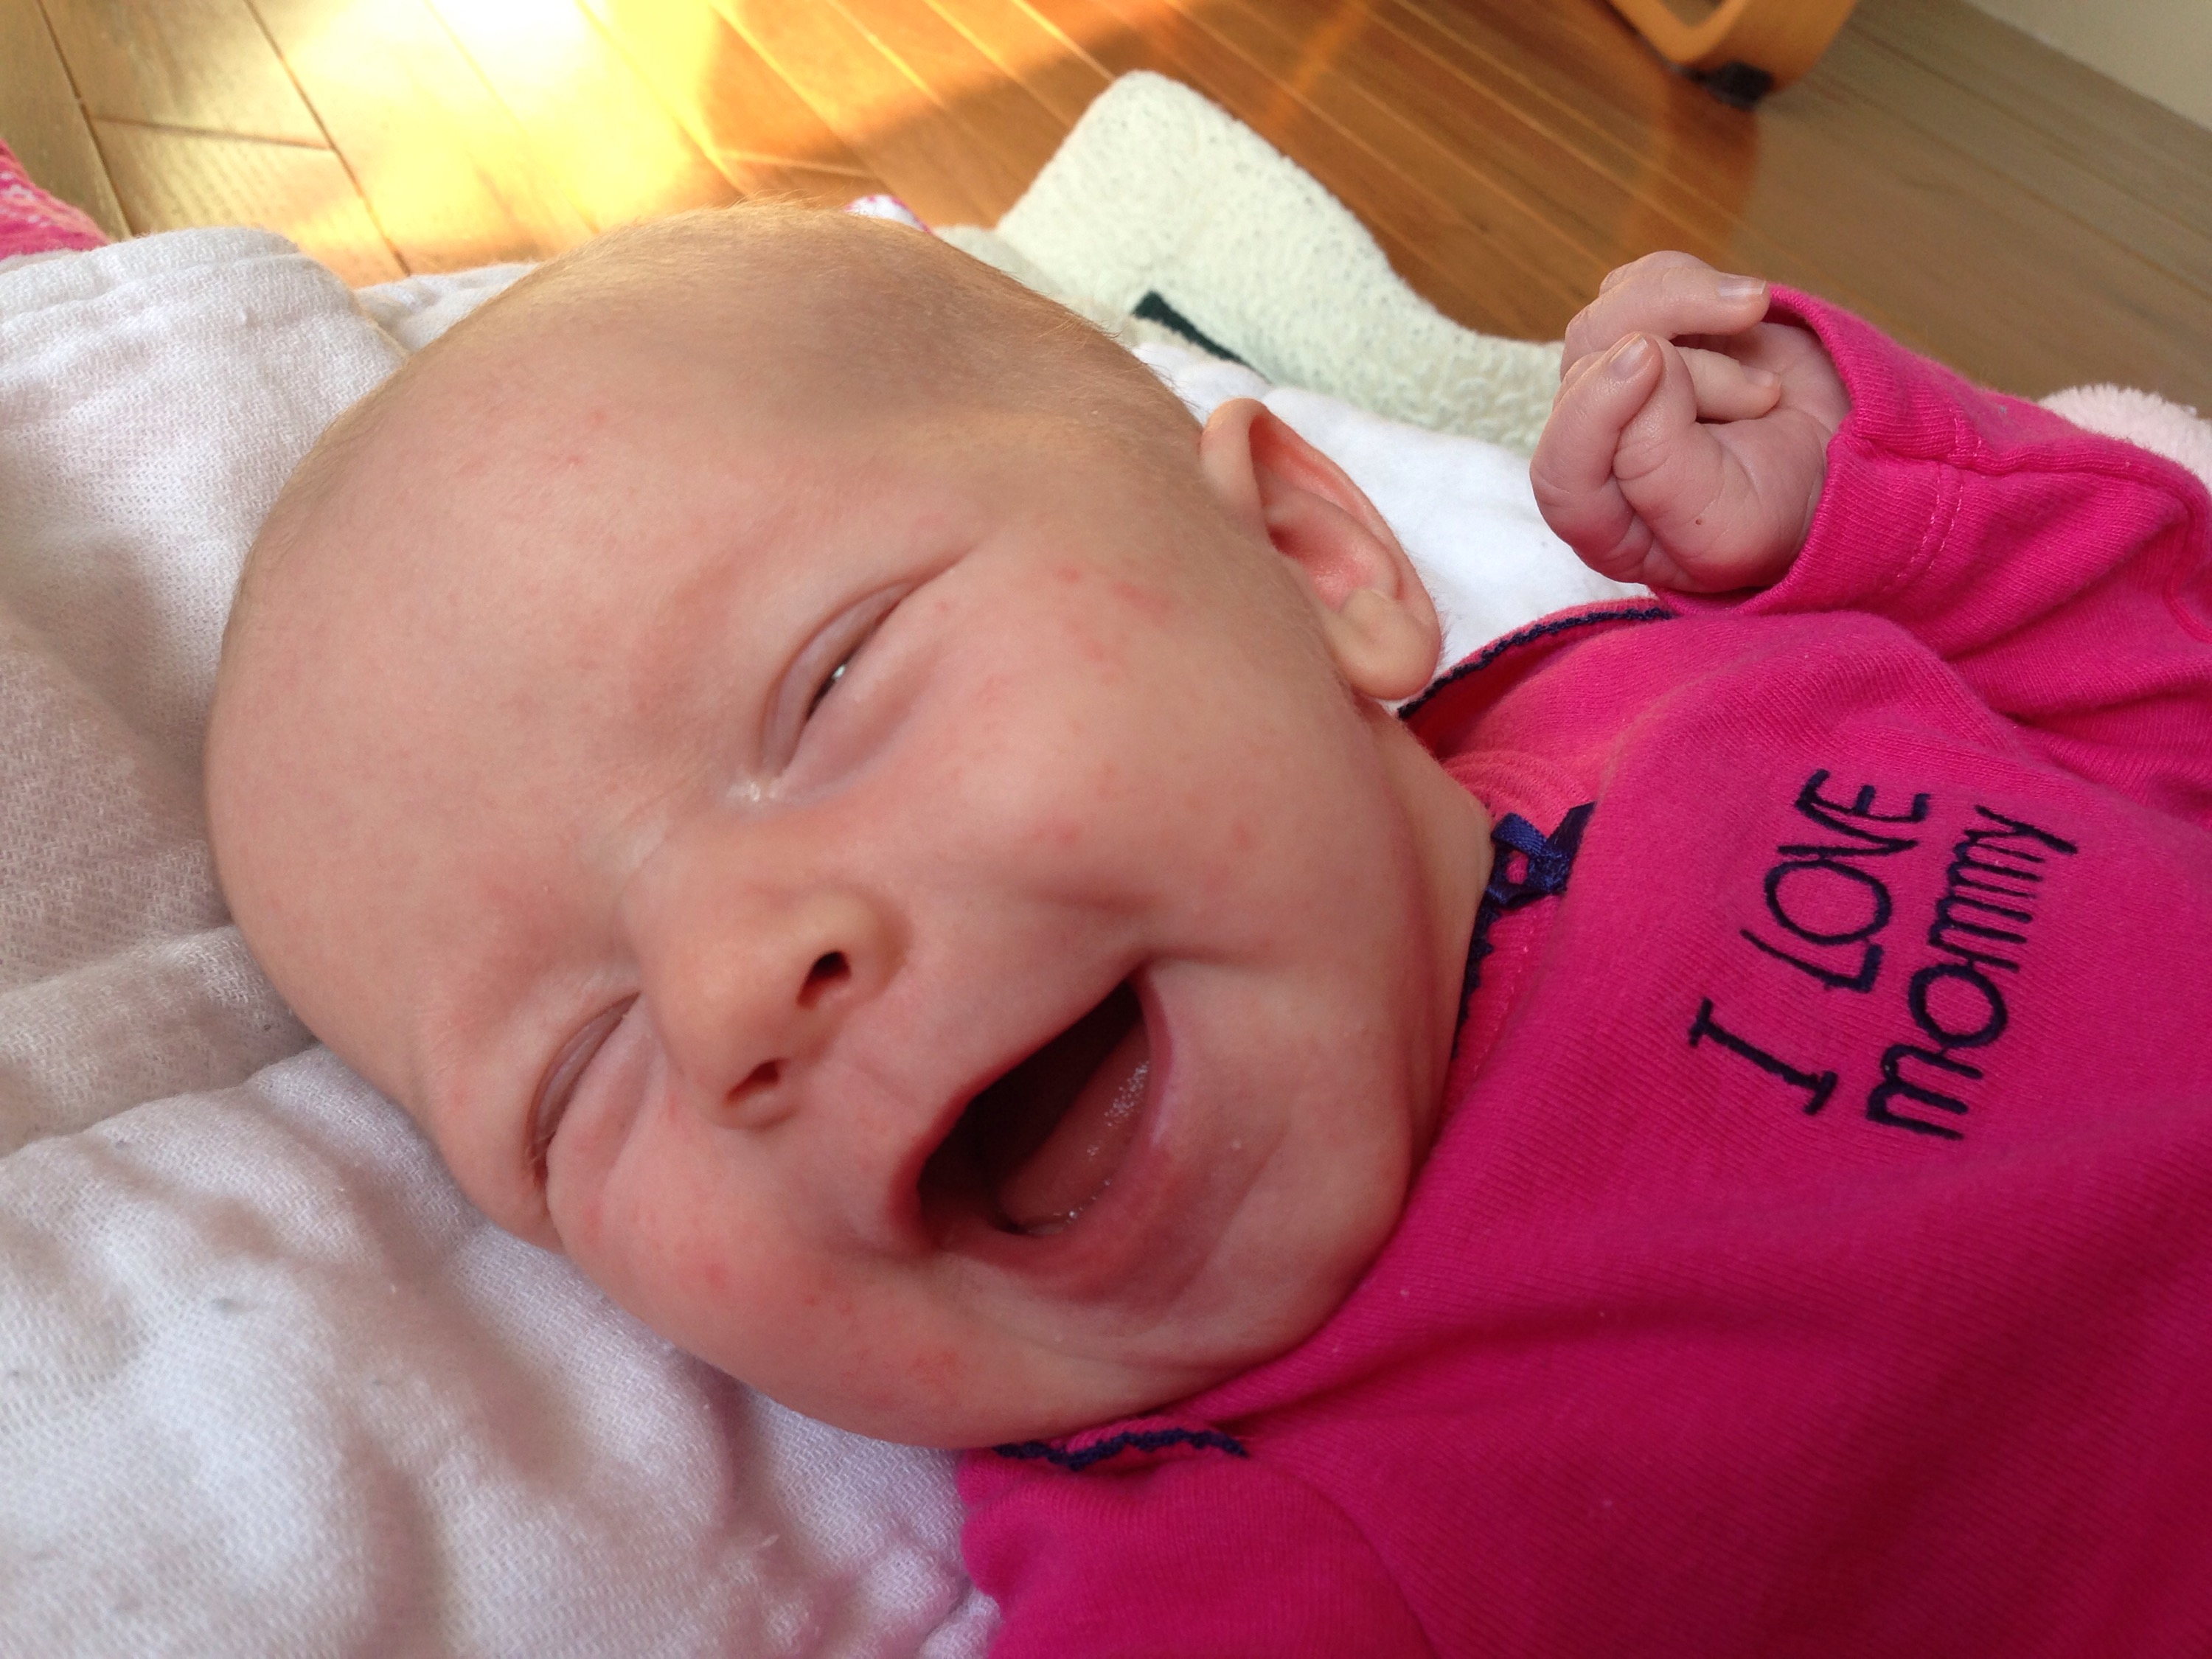
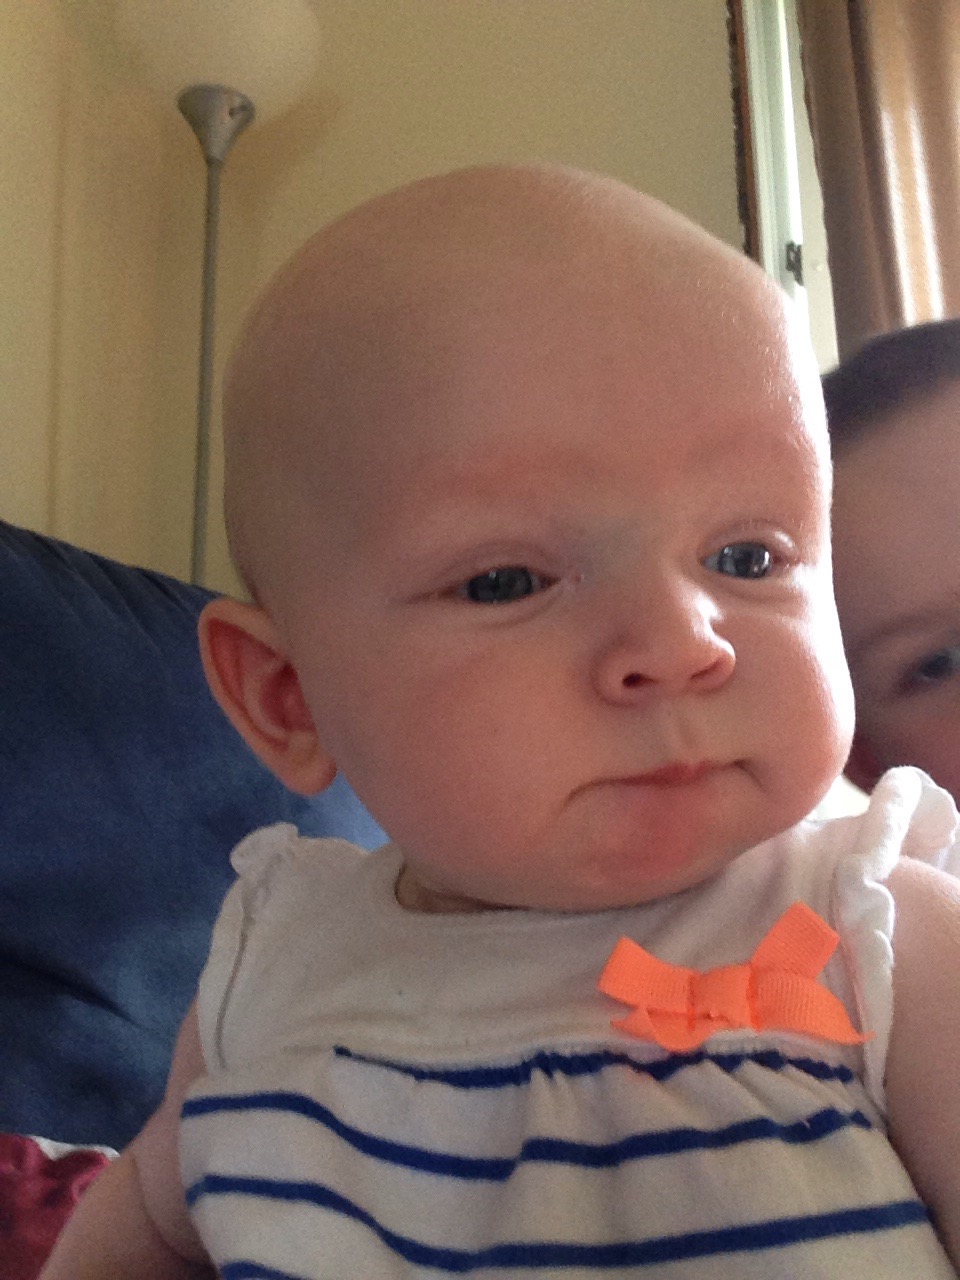
 Sweet smiley baby!!
 3 months old!
 My little helper.
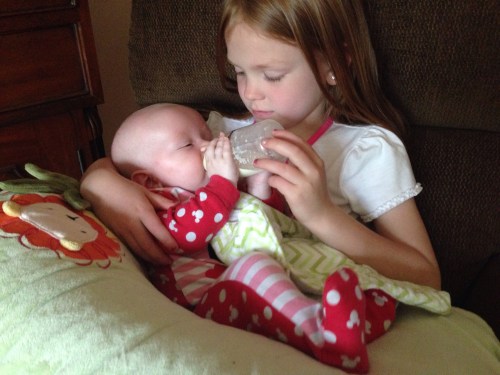 Big cousin, Alexis, feeding Tessa.
 4 months old!
 My babies!

 First boat ride, fell asleep right away.
 Snuggle bug!
 My babies!
 Visiting Gramma Caron
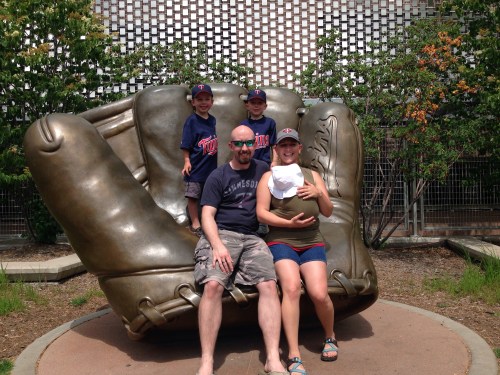 Twins game
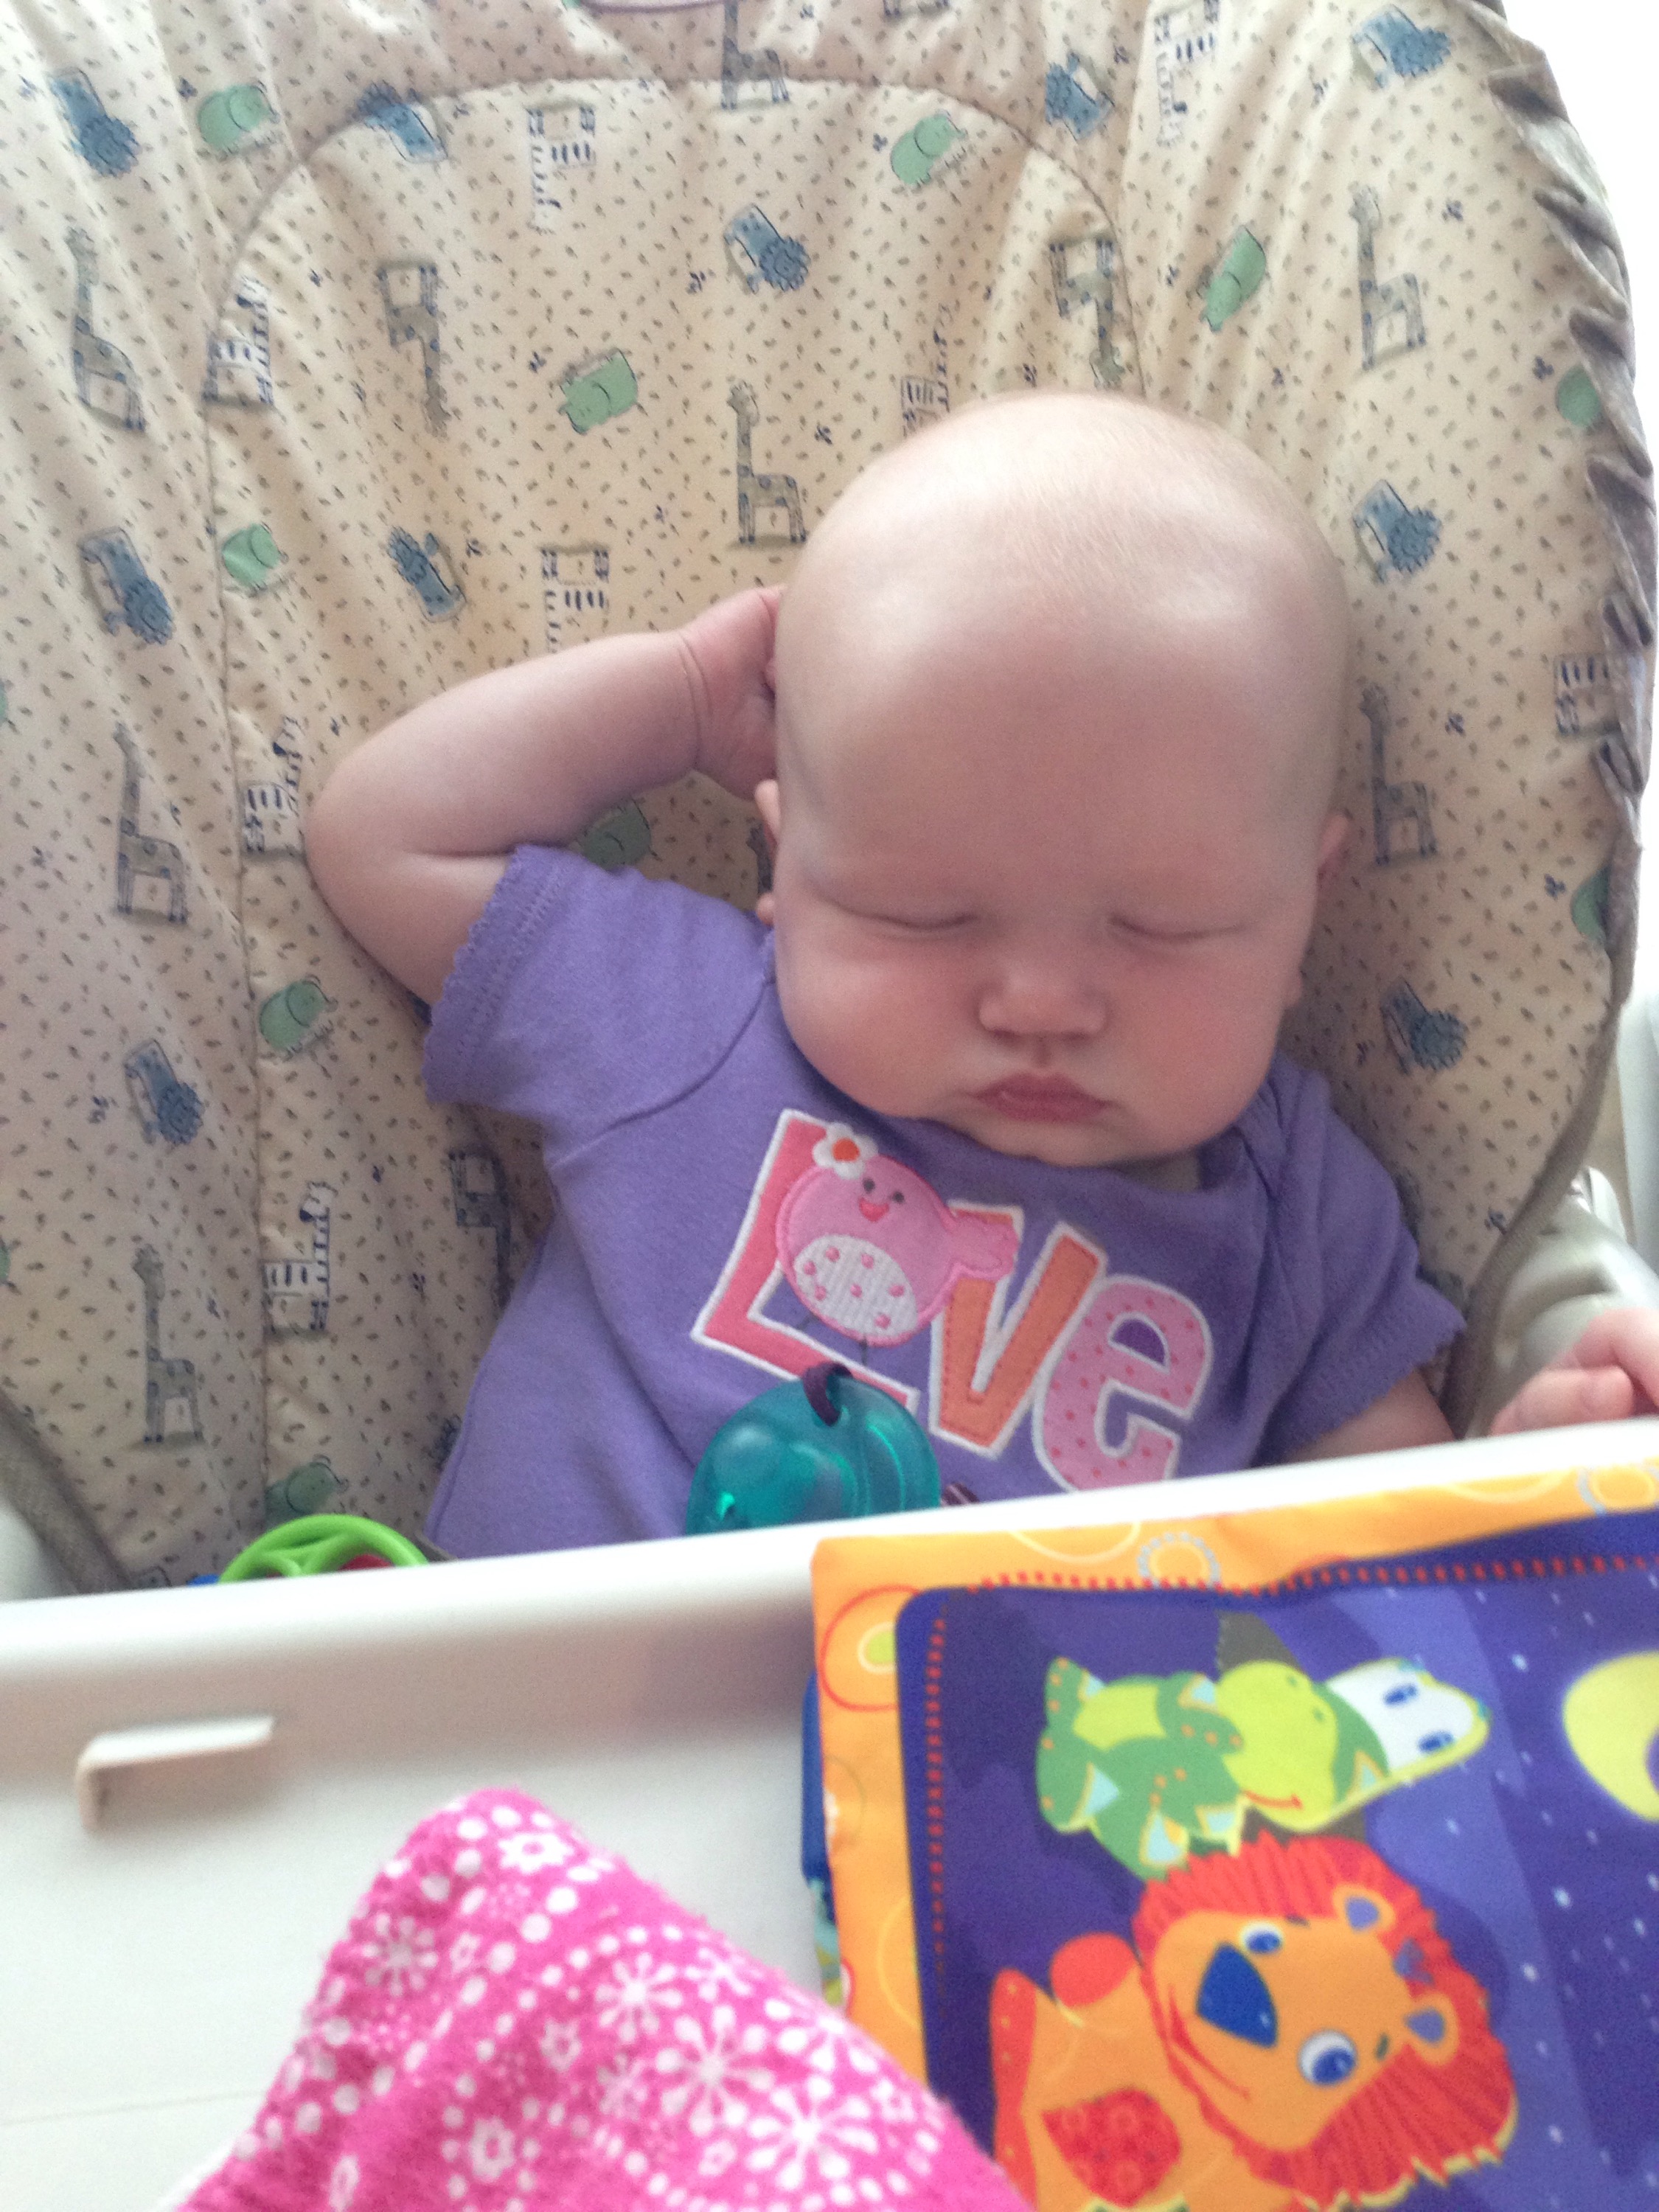
 Sleepy baby
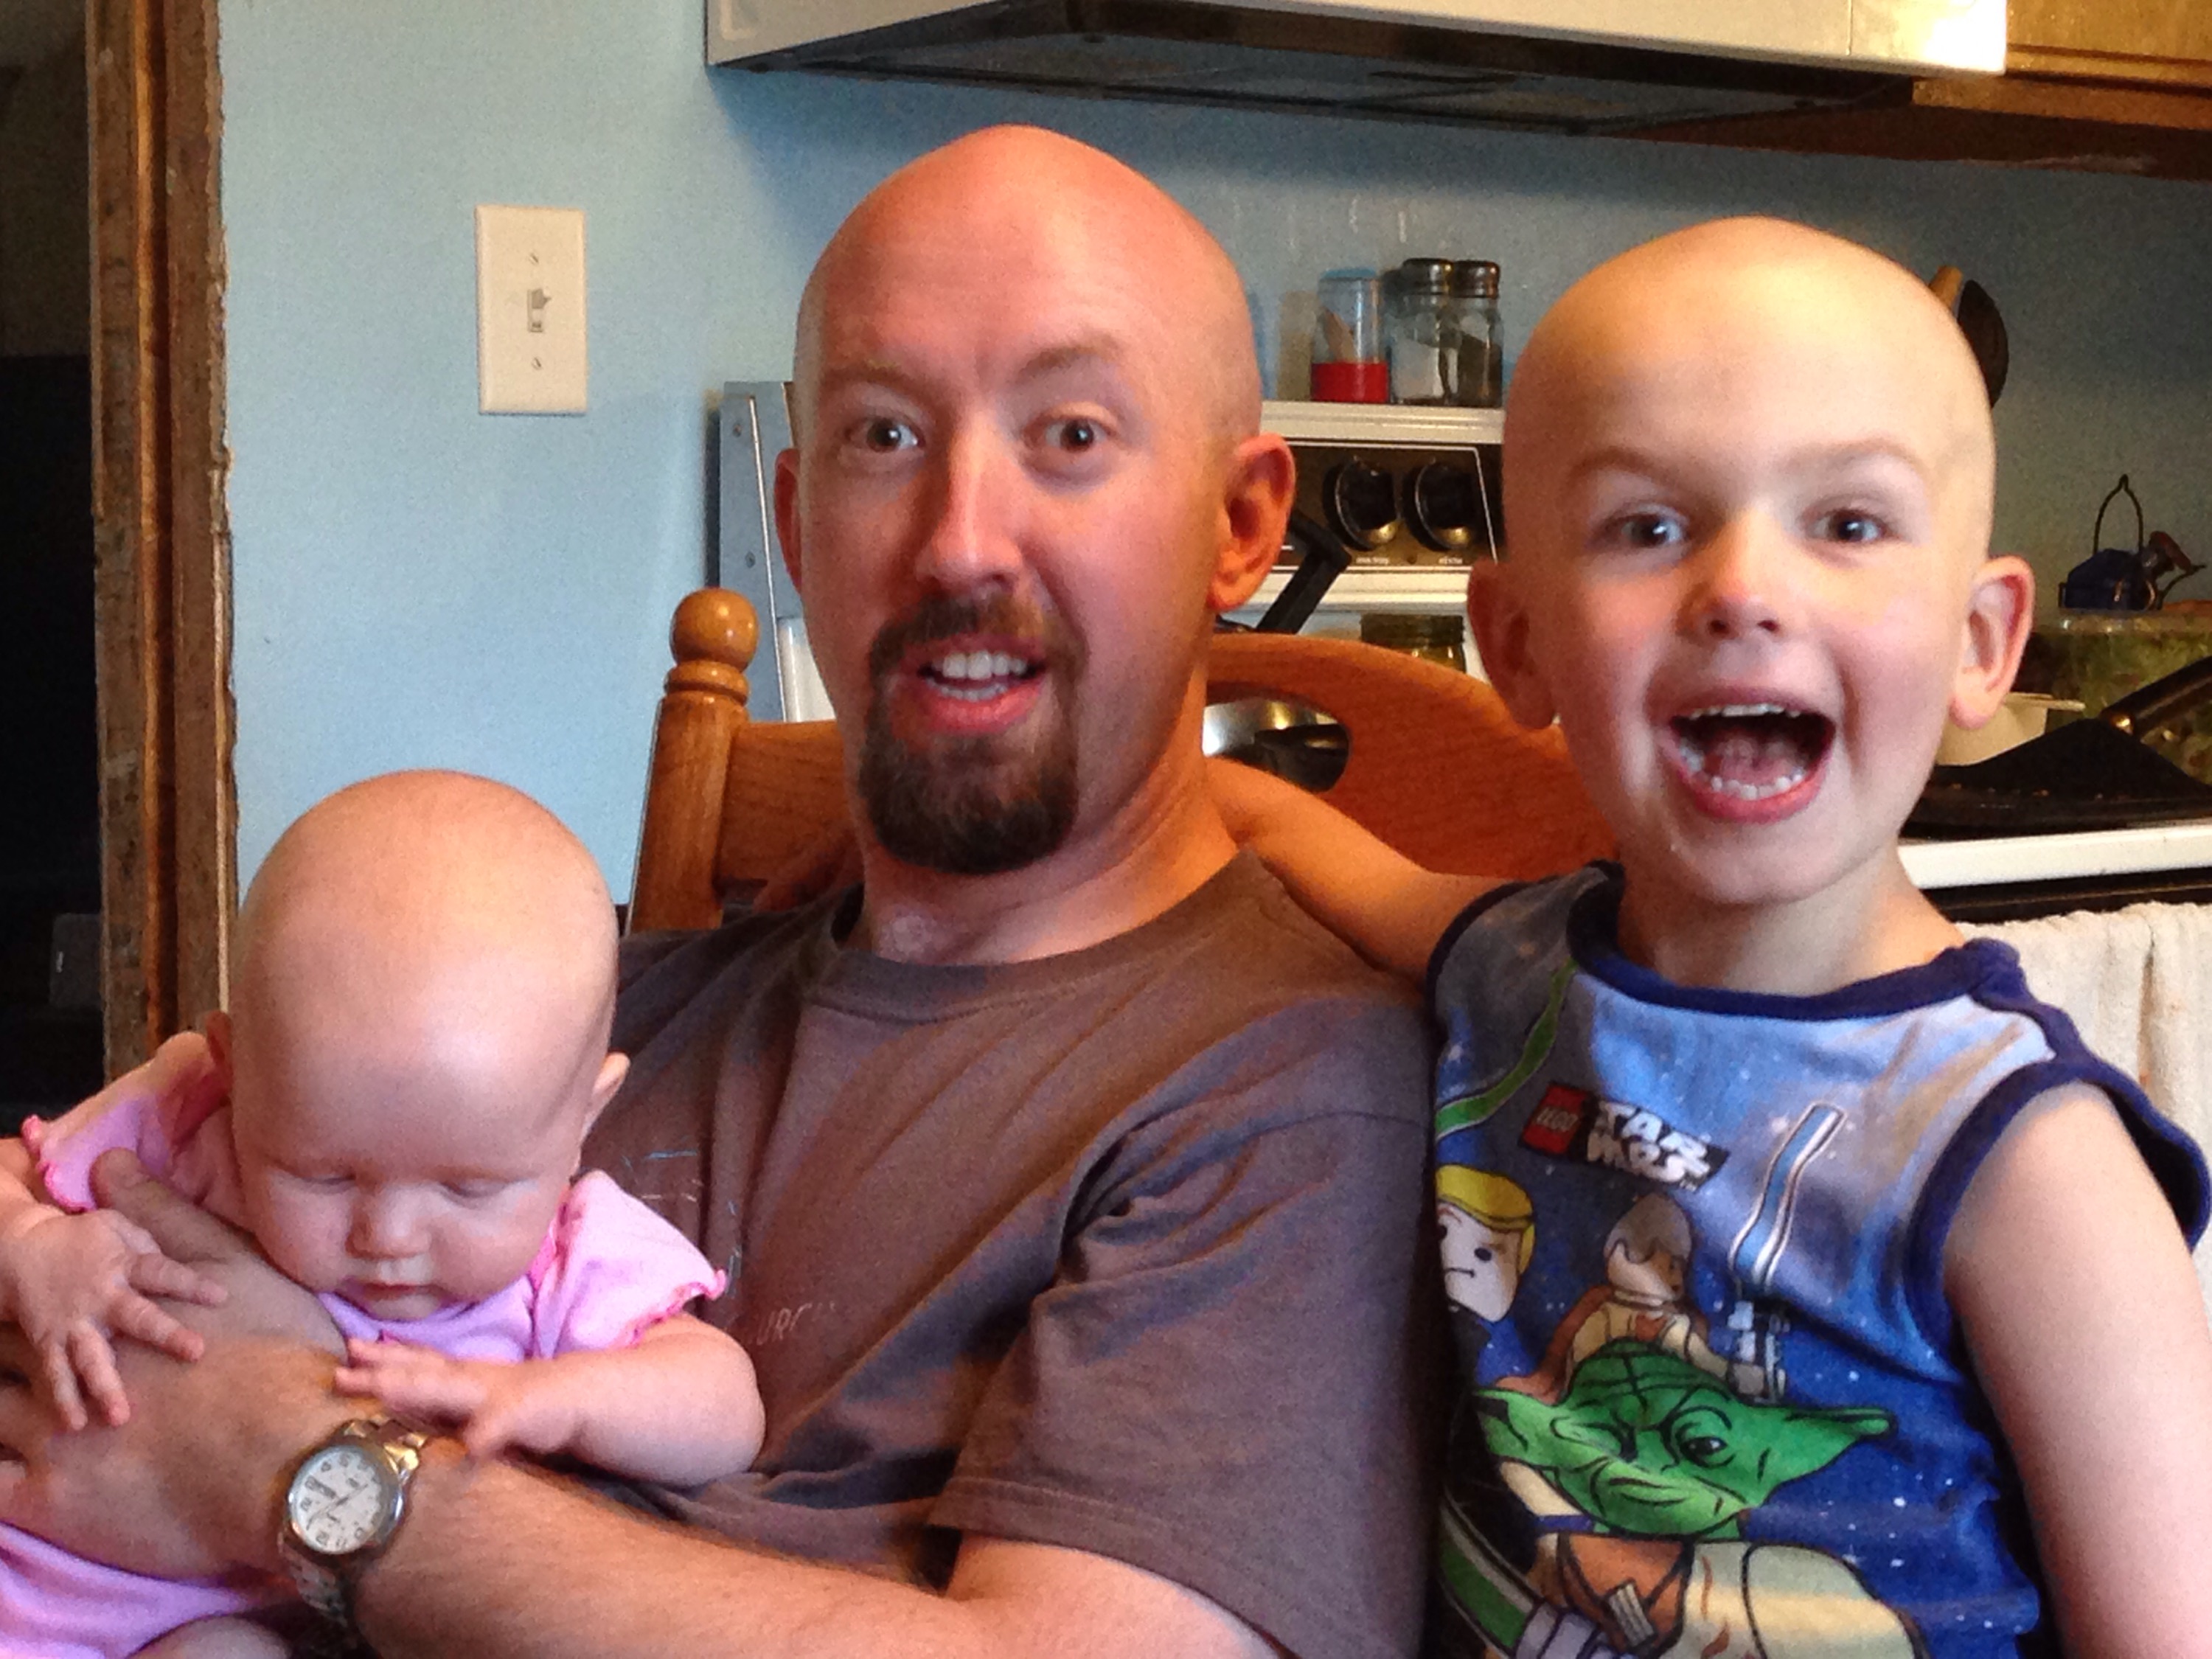
 My 3 baldies!
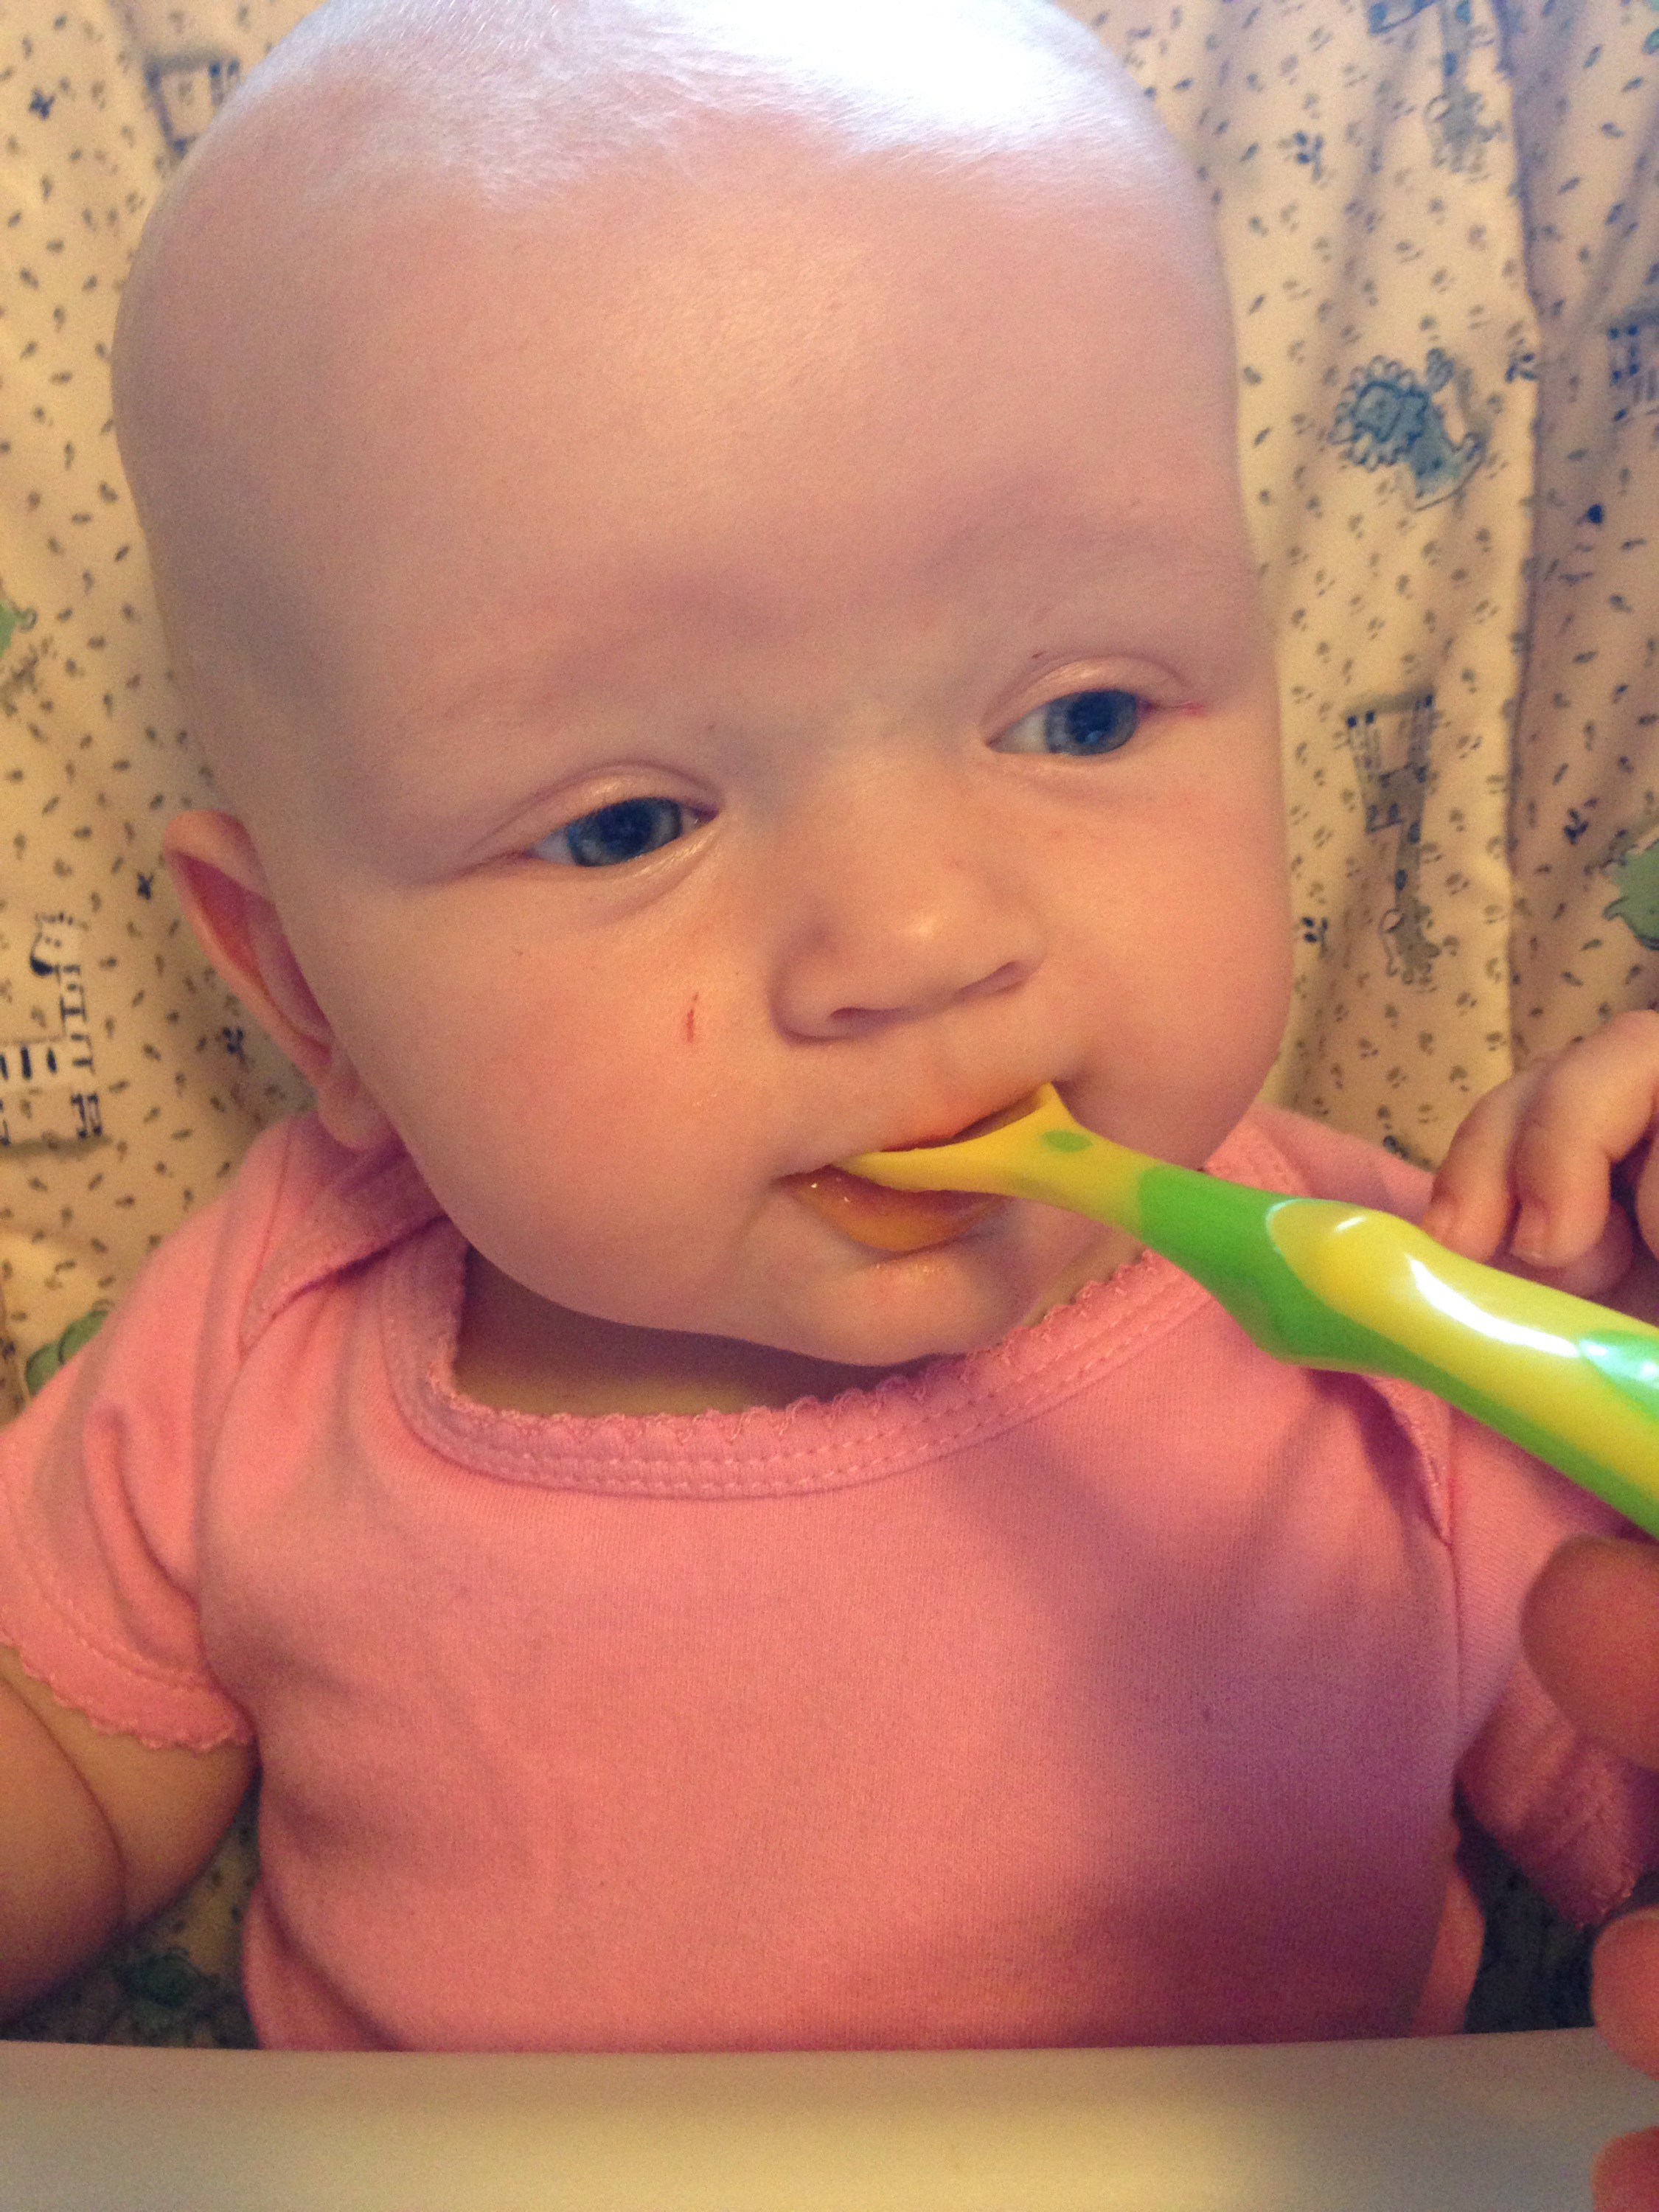
 First time eating “solids”.
 5 months old!
44.837453
-93.001842